Digital productsBeginner · About 40 minutes
Printable wall art: from idea to print-ready files
Plan a small collection, generate original artwork, set up the right pixel sizes and prepare files customers can print.
PrintIntermediateAbout 40 minutes
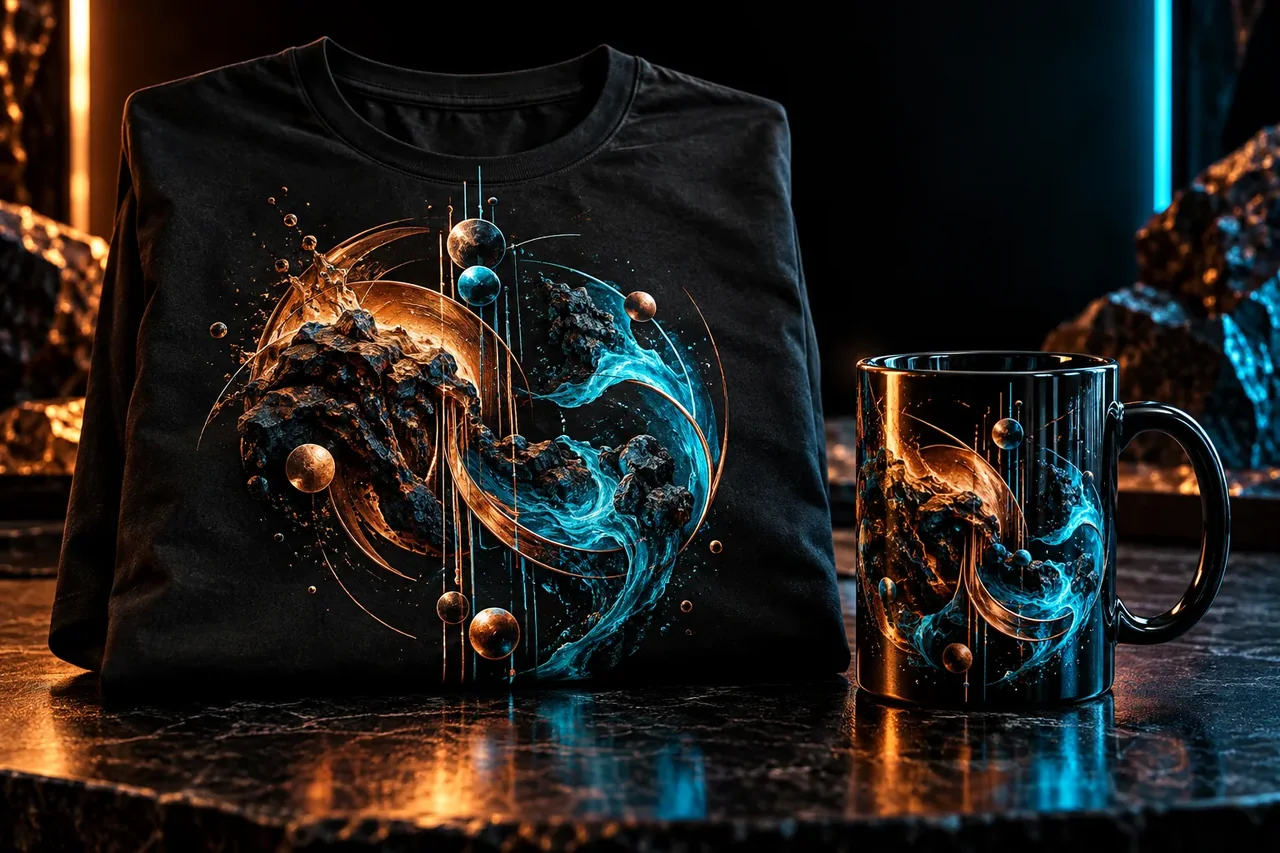
Prepare designs for shirts, mugs and posters that a partner prints and ships, with honest mockups and a rights check.
A print-ready design set in the right sizes for one or two products, plus truthful mockups and listing copy.
Best for: Sellers who want to offer printed products without holding stock, using a print partner that produces and ships orders.
Print areas, safe margins and minimum resolution depend on the product and the partner. Download the template for each product and design inside it. Never assume one size fits a shirt, a mug and a tote.
Large flat colours and clean edges print reliably. Very fine detail, thin lines and subtle gradients can disappear or look muddy. Ask the partner which colour profile and how many colours the method supports.
Describe the style by its qualities, not by a living artist’s name. Generate on a plain background, pick the strongest few, and redraw or clean anything with warped shapes. Do not use brand names, logos or recognisable characters.
Tip. Ask for “isolated on a plain solid background” so the cut-out is easy.
Work out the size from the print area in inches and the resolution the partner asks for. Use the calculator in this guide, then export a transparent PNG at that size instead of stretching a smaller file.
Screens are brighter than fabric or ceramic. Order one sample of each product before you sell, and check colour, placement, edges and how the design looks in daylight.
Mockups are fine when they are clearly mockups of the same design on the same product. Never show a product, colour or quality level you do not actually sell, and show your real sample photos when you have them.
Confirm that you own or are licensed to use every element. Read the current policies of your shop platform and print partner on AI-assisted designs, and keep notes on how each design was made.
Pixels needed = inches × pixels per inch. Export every ratio at its own size.
2,400 × 3,000 px
Replace anything in [square brackets]. Prompts are starting points: results vary between tools and versions, so review every output.
Prompts are written in English because image, video and most text models follow English instructions best. To get answers in your language, add “Reply in English.” to a prompt for a text assistant.
Use this with an image model to create the graphic only.
Bold graphic illustration of [subject] in [2 to 4 named colours], flat vector style with clean edges and limited shading, centered composition with generous empty space around it, isolated on a plain solid background so it can be cut out, no text, no letters, no logos, no brand characters.Use this to get a checklist you then verify with the partner’s own help pages.
My product is a [t-shirt / mug / tote / poster] printed by a partner. The partner template says the print area is [width x height] and the minimum resolution is [value]. Give me a checklist for preparing the artwork: pixel size at the correct resolution, safe margin, background transparency, colour mode and file format. Say clearly which items I must confirm in the partner’s own help pages.Use this after you have the product and sample details.
Write a product title, 5 bullet points and a 90-word description for this print-on-demand item: [describe design, product, who it is for]. Describe only what is true: the design, the product type and the printing method. Do not claim a fabric, quality grade, certification or delivery time unless I give it to you.Tick items as you go. Nothing is saved or sent.
0 of 6 checked
Digital productsBeginner · About 40 minutes
Plan a small collection, generate original artwork, set up the right pixel sizes and prepare files customers can print.
AdsIntermediate · About 45 minutes
Turn one offer into three angles and a small set of image and copy variations, sized for each placement and named so results are readable.
BrandingBeginner · About 35 minutes
Define a simple, consistent look and voice for a small business, with AI as a sparring partner and you as the decision maker.